Showing posts with label Gift ideas. Show all posts

September 2, 2012

Girls Just Wanna Have Sun!


I found this cool pool chair towel at Wal-Mart


So many cool features!

I wanted to add a little bit more to make it summer ready.

I grabbed my Silhouette and heat transfer fabric and did this


Now it's ready to hit the pool and soak up some sun!

June 30, 2012

Date Night!

Have you seen all the fun date night packet ideas on Pinterest?

My friend is getting married so I thought it would be fun to put together 
a date night box for her and her soon to be husband.


I went to the dollar store and just browsed the aisles for 
ANYTHING I thought would be fun.

I also hit up the dollar aisle at Target.

I grabbed some envelopes at the dollar store to put everything in.

Here's all the dates I came up with


I got the 20 Good Date Questions for Married Couples to Ask Each Other

I also included a list of 50 Fun Date Ideas. I came up with some on my own and
the others came from Six Sister's Stuff.

I made all the tags and instructions on my Silhouette.

I think I want to make one for me now! 


June 12, 2012

Missionary Sign

My brother left to go on his mission 6 weeks ago.
I found this quote on Pinterest and LOVED it.
So, I made my own sign for a Mother's Day present for my mom.


I made it out of a canvas board I bought at Hob Lob.
  I Mod Podged some scrapbook paper onto it
then used my Silhouette to cut out the words onto black vinyl 
and as easy as 1,2,3 it was done!

Now we just need a picture of my bro to put beside it!


May 29, 2012

Baby Gift

My friend had a little girl not too long ago
This was my present I gave her


I went to WalMart and bought the shirt and skirt

I got out my Silhouette and found the cute butterfly pattern
I then used my Rhinestone kit! 


I got the flower and head band from Hobby Lobby

There you have it!
A super cute, easy gift!


March 6, 2012

Make-Up Case

I finally decided to buy some Bare Minerals make-up. I have been hearing about it for so long. When my skin decided to throw a temper tantrum on me, I decided it was time.

I was so excited about all my nice, new brushes and the cute little cases. 
I needed somewhere safe and sound to keep my new treasures. 

Here's what I came up with


I am a beginning seamstress.
Seriously, I don't even know if I am allowed to use that word.

So, this is a very basic project.

Supplies:

fabric
thread to match
elastic
velcro- I bought pre-cut velcro squares from Hobby Lobby

..........

I didn't take pictures when I made the case.
It was on a whim one day, and I didn't know if it would work out.
I will just show you the process with a similar piece of fabric- kapeesh!

........

I started with a 22x18 piece of fabric
it came in a package of fabric and ended up being perfect


Fold in half hot dog style with right sides together
I know this picture shows the opposite, but you get the idea
 Sew up the long sides and bottom


 Turn right side out
Fold the bottom up until you have the size of pocket you want
Mine was a little less than half way

Before you sew the top edges together, sew a piece of velcro at the top.
I didn't do this, so on the front of my case you can see a small square. It's not very noticeable, but it's still there. See.....


Not so cute. All you professionals would know to not make this mistake.
I'm learning and impatient:)

..........

Now time for the elastic.
I placed my brushes where I wanted them to sit and measured around them.
I placed pins where I wanted to sew. 

I again had already sewed the top edges, so you can see stitching on the front. However, I'm glad for this little mistake because it added a cool bunching effect to the front, that frankly I like.
You can make whatever decision you would like.


Now sew up the top edge.

Onto the bottom half.
Sew a piece of velcro on the bottom part of the pocket.
I also added a decorative stitch to the top edge.


Last I made some fabric rosettes to spice it up at bit


There you have it!


December 27, 2011

Christmas Gifts Galore

This year I decided to be crafty for Christmas.

Here's what I made

Thanks to Pinterest I was able to make these
Heart Hand Warmers


Just fill with rice and heat up for 10-15 seconds and you will be nice and warm!

I found these boxes at Target for $1


I put some cute snowflake lights and a monogrammed notepad in them
along with the hand warmers.

I then made some cute tags with my Silhouette.


Fun and inexpensive

The whole present was under $5!

Wooden Star

We have this cute wood store in Utah called the Wood Connection

I found this adorable wooden star and decided to make it for a friend


This cost me right around $10

I painted the cream star with a coat of black, then cream, then sanded away. 
I found the E and ribbon at the Hob Lob.

Perfection if you ask me!


P.I.V.O.T 
T-shirt

My sis and I love friends

 Awhile back I found this shirt on Pinterest


Such a funny episode!
Just in case you somehow missed this classic Friends moment here you go!
I've got your back....


I decided to make my own


I found a shirt at Forever 21 for $3.
I was super excited to use my Rhinestone Kit for the Silhouette!
(That's how I made the letters)

I downloaded the couch from the Silhouette store
then used my flocked heat transfer fabric


I think it's so cute!
I might need to make myself one:)


My mom LOVES the Grinch
So naturally I made her something Grinchy


It was so fun to make:)


HaPpY GrInChMaS!!!!!


September 9, 2011

Spiced up plant

My mom got this plant and watering can at IKEA for a friends birthday. 
We decided to spice it up a bit.

 I found the images on my Silhouette, then cut it out on vinyl. 
Super easy and adds a little something special.

April 13, 2011

I Love to See the Temple

I love temples! I have like 3 pictures of different temples in my room. So of course when I came upon this cute project from Lil Luna, I had to make one of my own. She has a bunch of different temple pictures that she posted for free! So super nice of her! Thank-you, thank-you!


Hop on over to her blog and check out these beautiful pictures. I want to make one of every temple, but I think that might be going a little overboard!

March 19, 2011

Baby Headbands

My friend was having a baby shower and I wanted to make something cute for her new little girl. I found a bunch of cute ideas on blogland and went to work on my own. Here's all of the ones I made... I so wish I had a little girl right now, maybe that's why I went a little crazy.


Ok....I have to apologize for my terrible photography skills. Or my lack of paying attention to details...and always being in a hurry. Usually I totally forget to take a picture and when I do remember, I'm scrambling to try to do something to make it look somewhat decent. Well I found my birdcage, but ya think I would have noticed the blinds. Seriously, don't know what what up with that. So just try to pretend like you don't see them. I'm new to this whole blog presentation thing:)

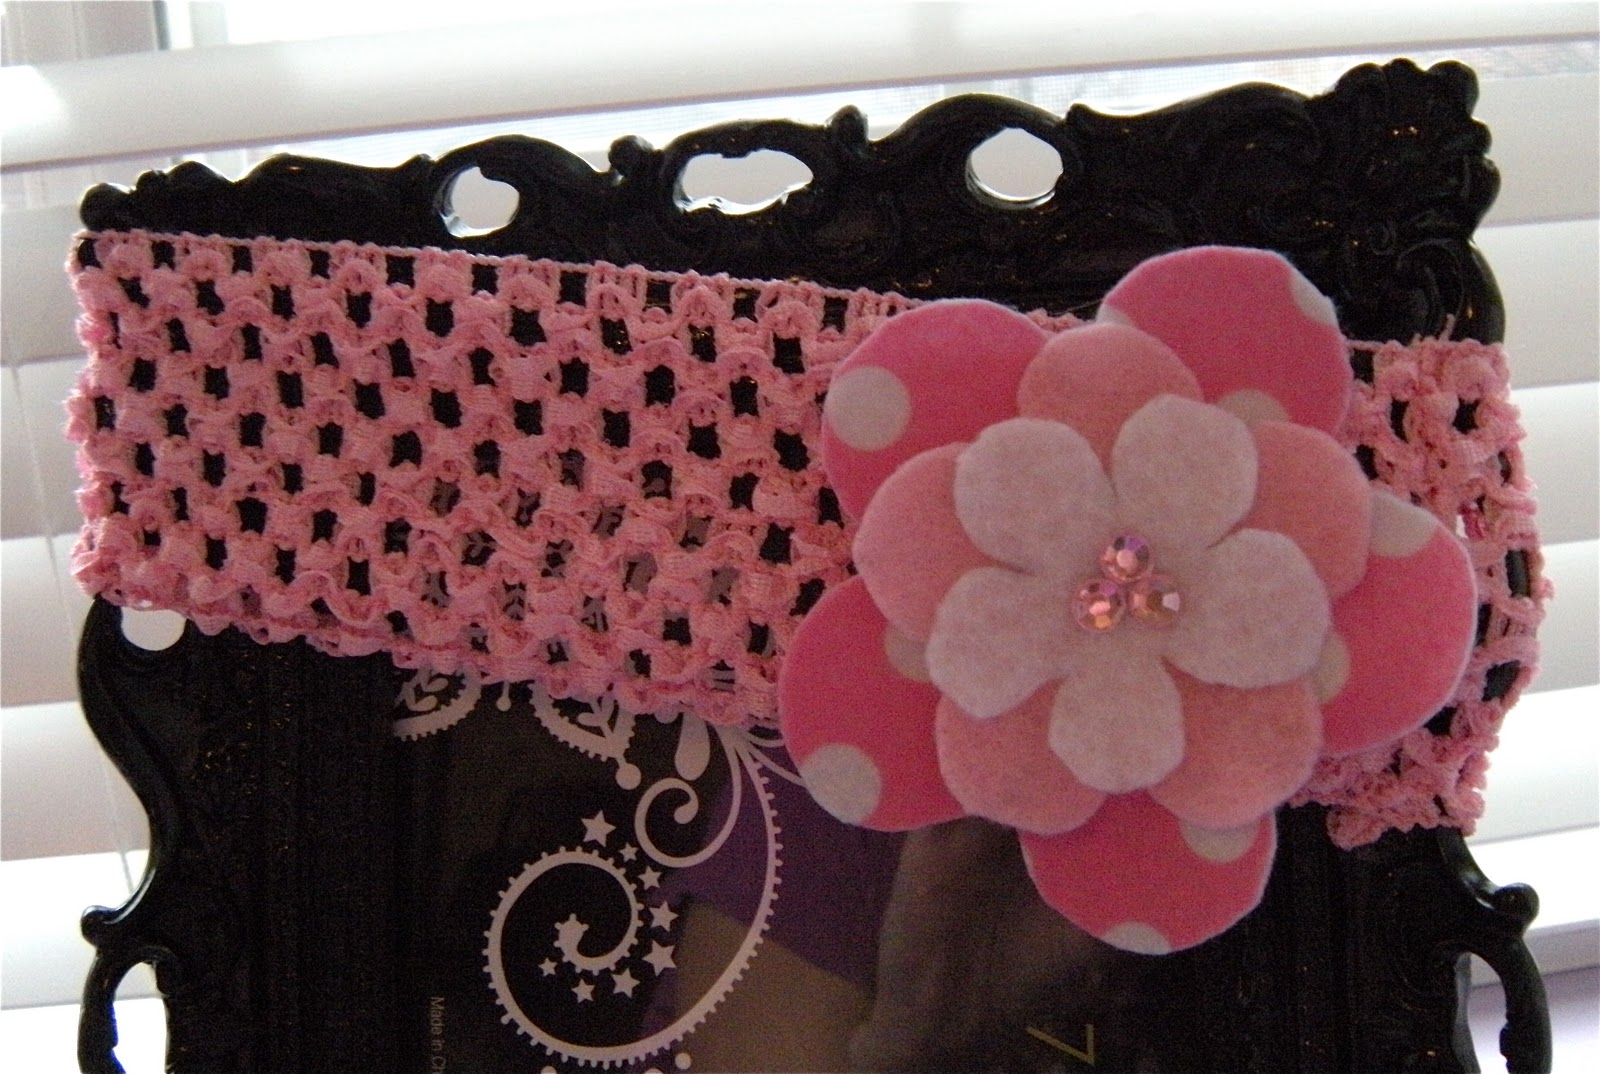
I had so much fun making them, and probably could have made a bajillion more, but I ran out of clips...thank goodness. That could have been bad. Here's what they look like individually. Again, I'm sorry for the photography skills. I should have taken the glass out of the picture frame...


So fun! I love little girl stuff! For the felt flowers, I just got on-line and printed off flower patters, then traced them on the felt. Easy peezy. I already had the other fabric flowers and jewels. So that was nice and convenient. My favorite is the pink and yellow rosette. I bought the head bands and the cute feathery bow from Hobby Lobby. That feather one kills me, it is so cute! There was a picture of a little girl wearing it outside in the wind and oh.my.gosh. it was the cutest thing ever! I picked up a cute jar at Hobby Lobby to put them all in. With some ribbon that I had on hand, this is how it all turned out....


Her little girl is going to be so stylin!