Showing posts with label Room Decor. Show all posts

April 22, 2013

Mint Dresser

This dresser has been handed down in my family for awhile now.


This is how it's been since my sister was little and it was in her room.
When I was a baby it was yellow.
Before that it was just plain old wooden and belonged to my dad and his brother.
My dad said he had one side and his brother got the other

I've need a dresser for awhile now and when I came around this little buddy just chillin' all by it's lonesome in the basement, I decided to bring it back to life.

I didn't really know what color I wanted. I just knew I wanted something light and refreshing. 
I finally decided on a mint color.
Here's the finished dresser


Sorry about the blaring sun. That's what I get for taking an iphone pic.
I used Behr's Tropical Dream and dry brushed Pastel Jade over it. 
It turned out just like I hoped it would!
I got the knobs at Hobby Lobby for 50% off....score!
They are all blinged out, which I love since I'm all about the sparkle.


It's been a great little dresser and keeps on impressing!


September 23, 2012

I'm All Earrings!

Need somewhere to hang all those earrings?

Problem solved...


All you need is a cookie cooling rack and some cute ribbon!

If you want to add something extra, you can put a cute piece of paper behind it


June 12, 2012

Missionary Sign

My brother left to go on his mission 6 weeks ago.
I found this quote on Pinterest and LOVED it.
So, I made my own sign for a Mother's Day present for my mom.


I made it out of a canvas board I bought at Hob Lob.
  I Mod Podged some scrapbook paper onto it
then used my Silhouette to cut out the words onto black vinyl 
and as easy as 1,2,3 it was done!
Now we just need a picture of my bro to put beside it!


December 27, 2011

Christmas Gifts Galore

This year I decided to be crafty for Christmas.

Here's what I made

Thanks to Pinterest I was able to make these
Heart Hand Warmers


Just fill with rice and heat up for 10-15 seconds and you will be nice and warm!

I found these boxes at Target for $1


I put some cute snowflake lights and a monogrammed notepad in them
along with the hand warmers.

I then made some cute tags with my Silhouette.


Fun and inexpensive

The whole present was under $5!

Wooden Star

We have this cute wood store in Utah called the Wood Connection

I found this adorable wooden star and decided to make it for a friend


This cost me right around $10

I painted the cream star with a coat of black, then cream, then sanded away. 
I found the E and ribbon at the Hob Lob.

Perfection if you ask me!


P.I.V.O.T 
T-shirt

My sis and I love friends

 Awhile back I found this shirt on Pinterest


Such a funny episode!
Just in case you somehow missed this classic Friends moment here you go!
I've got your back....


I decided to make my own


I found a shirt at Forever 21 for $3.
I was super excited to use my Rhinestone Kit for the Silhouette!
(That's how I made the letters)

I downloaded the couch from the Silhouette store
then used my flocked heat transfer fabric


I think it's so cute!
I might need to make myself one:)


My mom LOVES the Grinch
So naturally I made her something Grinchy


It was so fun to make:)


HaPpY GrInChMaS!!!!!


December 4, 2011

Secret Fairytale Lamp

I had this old hanging lamp


I was kinda getting sick of it.

Makeover time!


It's magical!
Like turning a frog into a prince
  or
a pumpkin into a carriage
or 
a poor maid girl into a Princess

. . . . . . . 

Here's what I did:

I got on the Silhouette on-line store and found this cute picture
and frame
I just love the frogs legs!

I'm kinda into the whole fairytale theme that seems to be around lately.
My new favorite show is Once Upon A Time.
If you haven't seen it, I highly recommend it!!

I spray painted the outside with the new Krylon Glitter Blast spray
in Diamond Dust---that seemed Fairytaleish


it was supposed to come out like this
all nice and glittery
mine not so much

it more just left a shimmer
I'm going to try again someday
but for now it will do

I got the idea do to the secret picture from Anthropologie
Lots of other bloggers have done this too
Just google secret silhouette in lamp
Some of my favorite were from Mandi at Vintage Revivals
She did THIS and THIS

I just sprayed my picture with spray adhesive glue and stuck it inside


Now I can dream about my frog prince


November 27, 2011

Hailey's Headboard

Hailey decided to repaint Brad's old headboard. 
 It was tan and dark blue and from his room when he was little. 

So much better!

Blue, yellow and gray!

The stencil is the same one I used for my self-redo.

Here it is set up in her apartment.
Sorry, she moved right after, so this is the best pic we got


You get the idea right?!

It was fun while it lasted :)


June 2, 2011

Shelf Redo

This was my first furniture refinishing project....and it turned out exactly how I envisioned it would!!!

 I needed to organize my room...big time. I forgot to take a picture of it, but I had bags of D.I finds, and who know what all in a huge pile. It was driving me crazy.

        I really like this look

                               Source                        

I just don't like the price tag on it.

So its a good thing I like to make things on my own!

 I drove to the D.I. and found this bad boy!


 Pretty awesome huh?! Someone had done their very own DIY project and gave it away. It was extremely dirty, but cleaned up well. They had pretty much just put some particle board and junky pieces of wood together, but I think it is magic!

I originally planned on leaving it black, but once I got it in my room it was too domineering. So I went for white.

I was so excited to try spray painting furniture, like I see everyone do. Well didn't turn out so good for me. I didn't use Kiltz primer like everyone does...I used Krylon. That could have been mistake numero uno....or it could be that my spray paint was really runny. It started out good, but one bottle ruined the whole thing.  (One bad apple, don't spoil the whole bunch, girl! ) Ha ha! Well in this case it did. No matter what I did it make those annoying runny streaks.

I gave that up and went to Home Depot and bought one of their sample paints for under $3. I got the Glidden brand because it already had a little gloss to it (the others come in a flat sheen, so I purposely bought the one with a slight gloss). It worked wonders and saved the day!

My next plans were to stencil the top and add fabric to the gross back.....

Here's how it turned out!


 I found the stencil on-line. I just googled decorative stencils. I knew I wanted a design like this and I found one! I printed it out on cardstock and scaled it to the size I wanted.

When that was done I went through my fabric scraps..

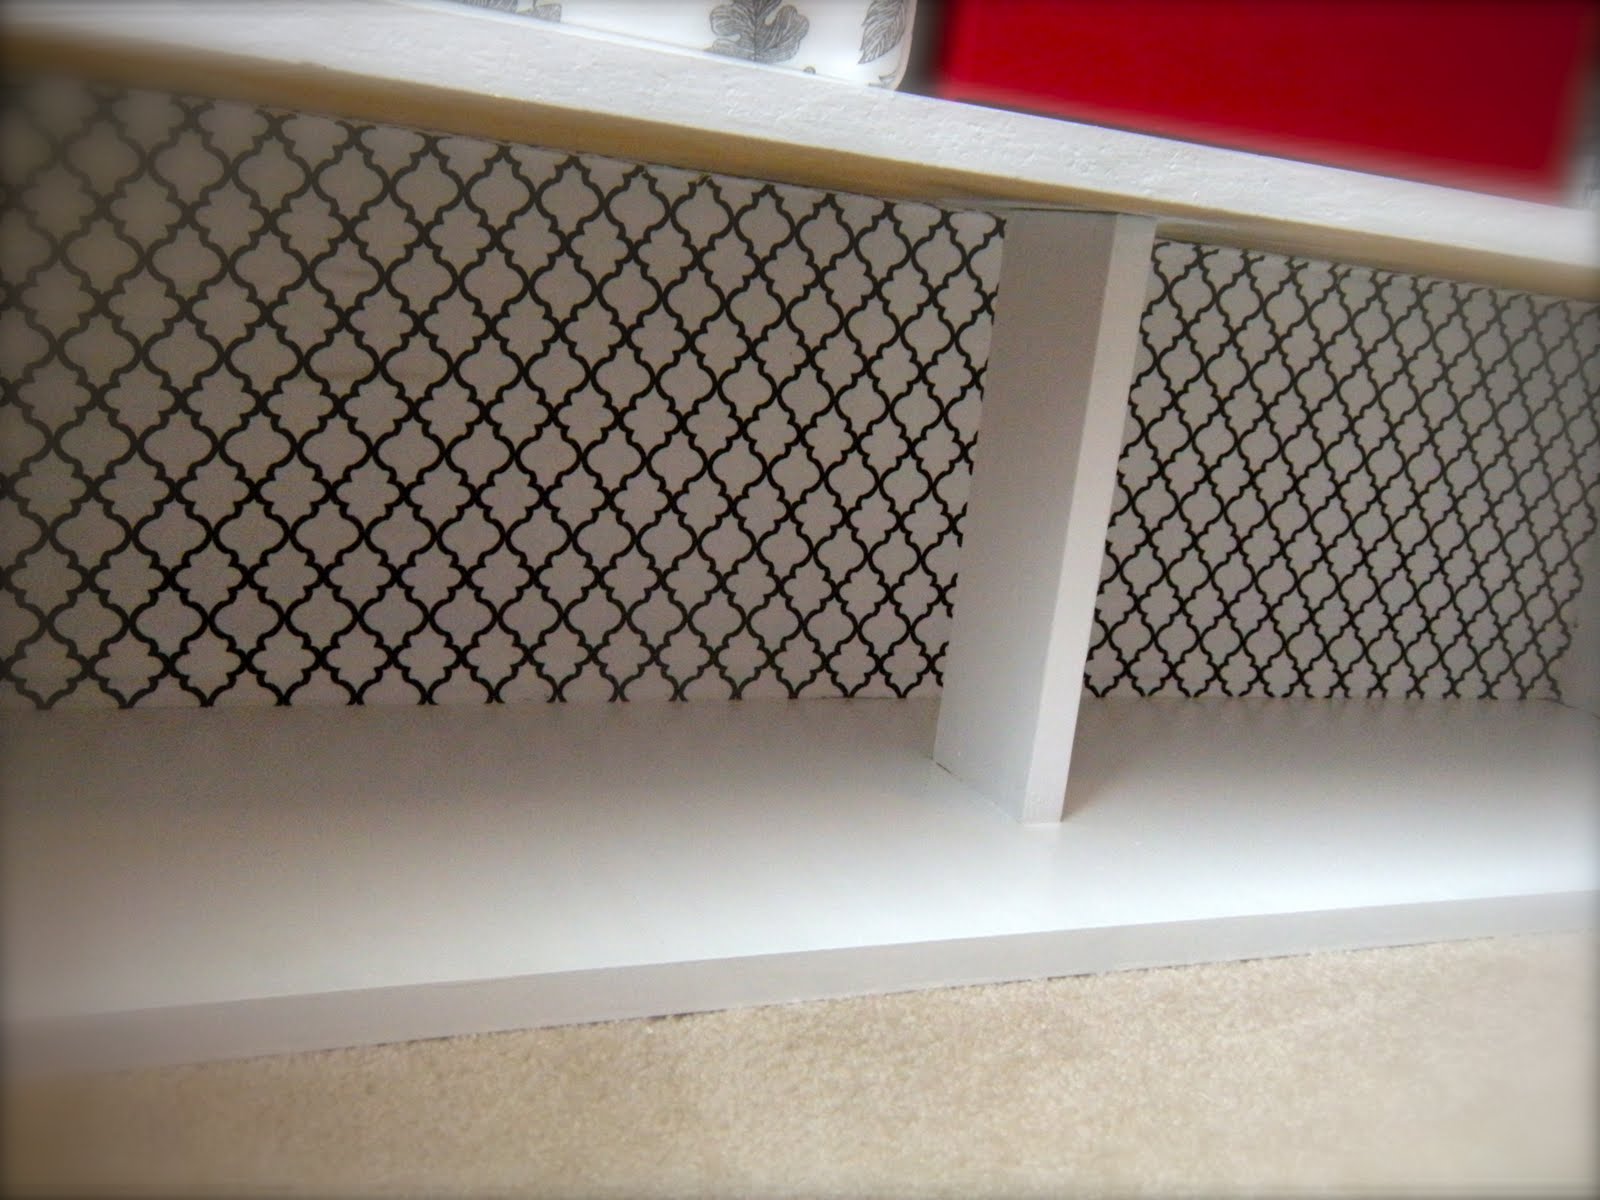
I like to raid the clearance section at Hobby Lobby. I try to get all mine for under $2. I think this piece of fabric was made for this shelf. Yes, they are indeed soul mates! I barely had to cut anything off of it!


     L.O.V.E it!

To put the fabric on I bought some Elmer's spray adhesive....stupid idea.

Maybe for smaller pieces of fabric.

Instead I just Mod Podged it on and whala! Done!

I got all the cute boxes at IKEA. Most were $5 and a couple were $10! That's my kinda deal!

I'm in love with this and have so much space for all my junk. Now it's all organized and tucked away where you can't see it!

April 28, 2011

wHoO wHoO!

Oh man! I got sucked into the owl bandwagon!  I tried to resist, but these little guys just kept staring at me from everywhere.


Ok not them exactly, more like all the cute ones you see on blogland, but aren't these guys adorable?!  How can you resist those eyes?!!

I found a tutorial that was for a sewless owl! Perfecto for me, since I don't have sewing skills or a sewing machine! I found the tutorial here. I was even more excited because there was a pattern to download....how easy! Here is how my cute little feathery friend turned out!

I haven't come up with a name yet. It will come one day. For now he is my little friend that hangs out on my bed~

I've been FRAMED part 2

Remember how I said I was going to paint my other frame white....well I did and LOVE it! It turned out way cuter than I even pictured it would. I love how the glaze turned out too! See what I mean......


 I love it against the purple wall and with my teapot! Yay for cute frames!

April 14, 2011

DIY Decorative Balls

I love how one thing leads to another. This is how this project came about...

Once upon a day I was bored...story of my life. I know I should enjoy it and that one day I'll be looking back and wishing I could just be bored. So, as I was wandering through Hobby Lobby and trying to kill time, I found the bird cages. I think they are so dang cute! I felt like Agnes off of Despicable Me...ya know the cute little girl that sees the big stuffed animal and says "It's just so fluffy!" That was me standing in front of the bird cages. Freaking out at how cute they were. Now I don't need a bird cage. I have nowhere to put one, but for 50% off I couldn't turn it down. Yep I bought it! I haven't had one single regret since. Back to my point. I bought the bird cage, so I had to have something to go inside it! That's the one thing leading to another point I was trying to make.

My mom has this cute cage thing that she bought and put some cute decorative balls inside. I didn't want to go and buy any since..

1. I'm a cheap skate
2.  I like doing things myself.

I thought about what I could use around the house to make mine. After much brainstorming I finally came up with macaroni noodles and newspaper! Here's a little photo shoot of how they turned out.


TaDa! I think they are so fun! Let me introduce you to each friend and I'll tell you how I made them. It's really not rocket science.

These are my macaroni friends. Here's what I did for coloring the noodles. I googled dyeing macaroni noodles, and this is what it I was told to do and what I did...

1. Picked out my noodles
2. Poured enough vinegar in a plastic sandwich bag to coat the macaroni.
3. Chose my food coloring color and mixed it with the vinegar in my plastic baggy.
4. Dumped the macaroni in the bag, *make sure to seal it*, and started mixing.
*Make sure all the noodles get coated. The longer you leave the noodles in the back the darker the color will be. I mixed until I had them the color I wanted.
5. Drain the colored water, then spread the noodles out on a paper towel to dry.

While I was waiting for them to dry I painted two 3 inch Styrofoam balls. One red and the other purple. I didn't want white showing through of course.

After that was done and everything was dry, I started gluing. I'm sure it would have been easier if I had spray adhesive, but I didn't so I just used my trusty glue gun.

For the red ball: I just spread glue all over in a little section then rolled the ball in the sprinkle noodles. See what I mean...not rocket science. A kid could do this and be entertained for awhile.

For the purple ball: I started at the top and glued the macaroni on in a spiral all the way around. Here's another look at that one.


You can't see the true purple of it. But it's really cute.

Now for my big newspaper friend:


This was so much fun! Do you remember in elementary school when you would take tissue paper and roll it around your eraser, dip it in glue and make art! I do!! I loved it! Those were the good old days....sigh!

That's what I did here. I traced circles onto newspaper. Not just any old piece of newspaper though. I made sure it was only black and white...no color. Why? I don't know. I just wanted it all black and white!
Now we could have one of those contests were we all sit and guess how many newspaper circles it took to make this ball, but I won't do that to you. Are you ready to hear this.....

Make your guess....

The grand total was.....

309!

I didn't expect that when I started, but it actually went really fast. I think this one is my favorite I started with a 4 inch styrofoam ball, but I think it is like 6 inches now!

Now for the last friend:


I had found these little styrofoam balls at the dollar store. These little guys crack me up. They are so staticy! They wanted to stick to anything and everything.

Little story on these little guys. I was gluing away and picked up this little one that was all deformed. I just about tossed it to the side because it wasn't "pretty enough" but stopped and realized what I was doing. I thought, "how sad!", I wouldn't want to be thrown to the side because someone thought I wasn't "pretty enough" or "smart enough" or "whatever enough". So to remind myself to not judge anyone and to accept people for their "differences" I glued that little guy on. Now he can feel special and wanted just like all the others and it doesn't matter if he looks a little different. That's what it's all about.

This was a 4 inch ball as well. I glued the balls on in a spiral like I did with the purple macaroni ball.

Here they all are as happy as can be like little love birds in a birds nest...or cage...in this case!


Here it is with my chalkboard and Prince Flynn!