January 30, 2011

Personlalized Wood Block Lamp

I was thinking about lamps one day when I woke up. I wanted to come up with a fun creative lamp. Then BAM! it hit me. I could use wooden blocks as the base! I went to this cute shop called The Wood Connection and bought 4 3x3 unfinished wooden blocks for $3 each. Yeah, kinda expensive especially since I found some at the DI for 50 cents each, but oh well.

I made this before I thought about this blog, so I don't have step by step pics, but this is what I did.

1. Drilled a whole in the middle of each of the blocks and cut out a groove in the bottom block for the cord to rest in and so the lamp would sit nicely on the table.
2. When to Home Depot and bought a lamp kit and pipe kit-12" threaded rod (1/8). The lamp kit was $10 and the pipe kit was was $6.

3. Put the rod in the blocks and assembled the lamp kit. It was super easy. I just followed the instructions on the back of the box. I did have to saw off some of the rod to make it all fit together and so the socket would sit flush to the block.

I turned this into a Christmas present for my mom. I decided to personalize the lamp by putting family pictures on the blocks. I printed off some of my favorite family pics and cut out some cute paper that matched her house.

First, I painted the edges of the blocks black. When that was done I played around with the pictures and paper until I had them how I wanted. Then, I spread mod podge over the blocks and put the pics/paper on. I was going to mod podge over those, but I always get at least some kind of bubbling, so I just sprayed them will a clear gloss. I was so glad I did....a lot less of a hassle. Last, I cut out a piece of felt and hot glued it to the bottom block.

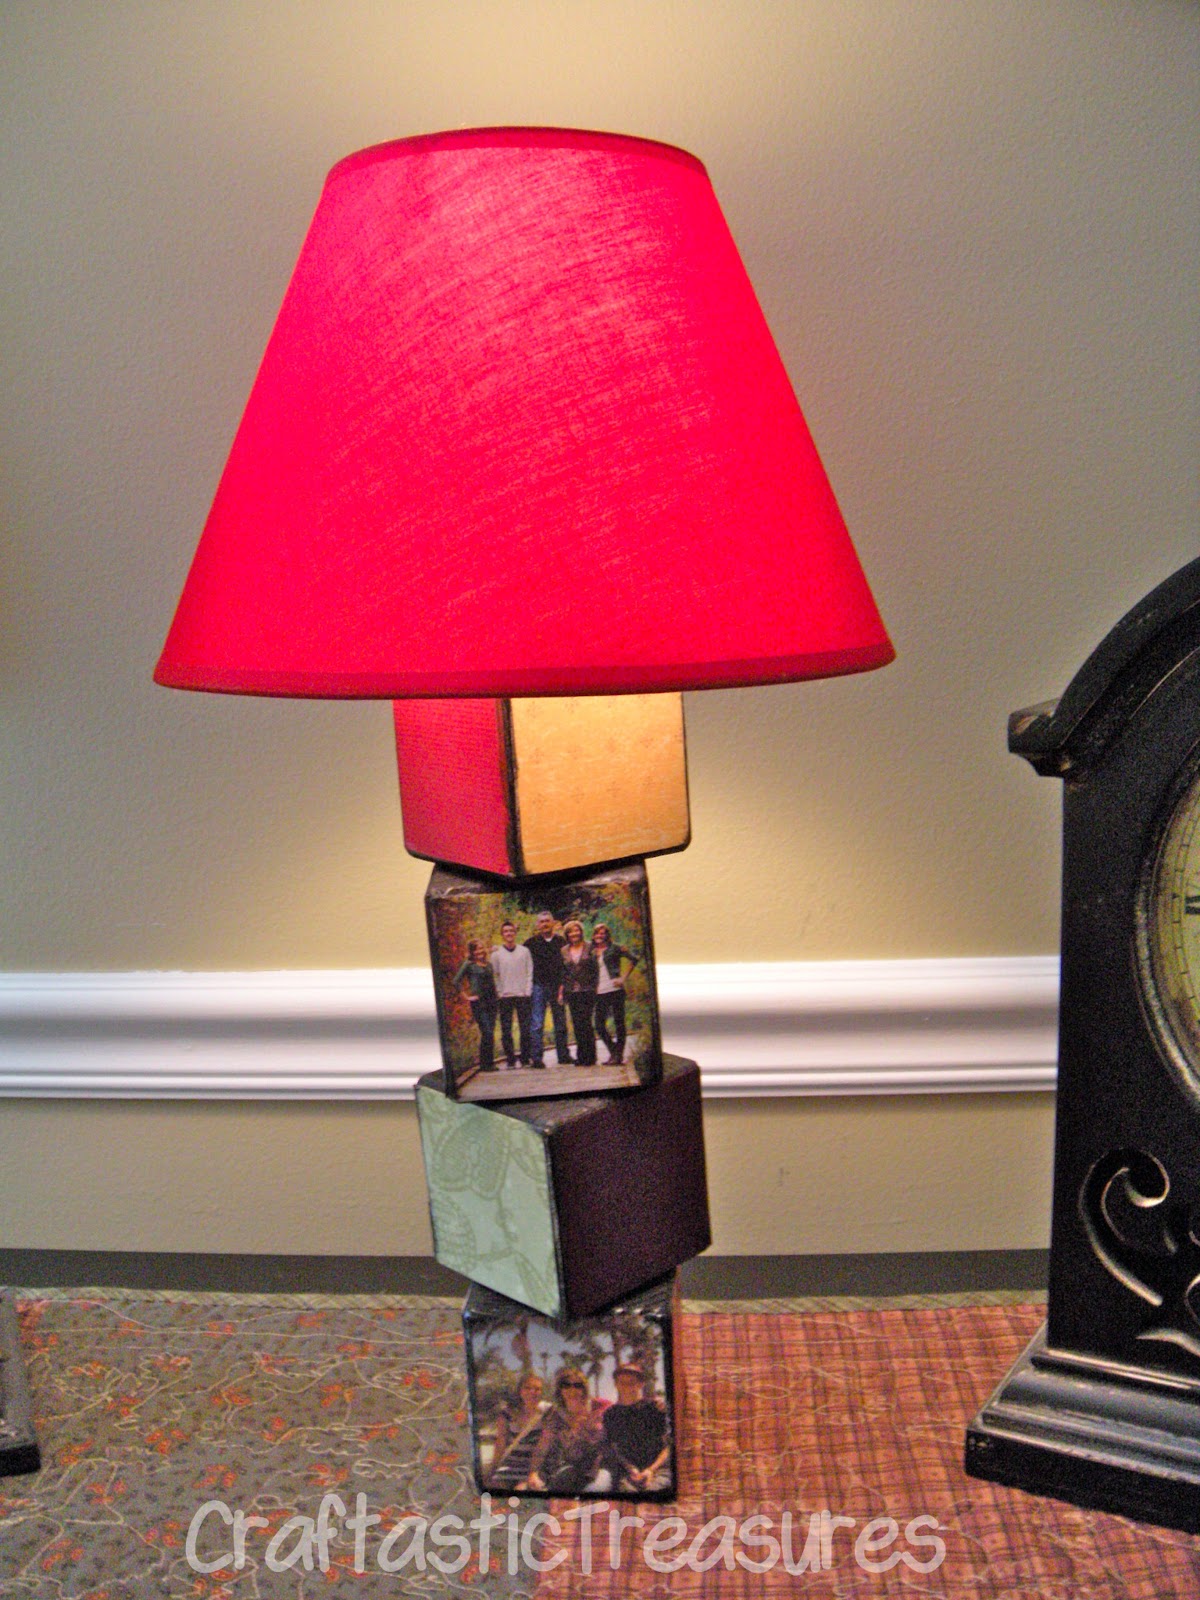
Finally, I went to Target and bought a lamp shade for $8. I went to IKEA first and would recommend going there for the more thrifty approach. The lamp shades are just as cute. The reason I didn't get one there is because I had bought a lamp shade harp thinking that I needed one. I hadn't noticed that lamp shades don't really need those anymore. I was cursing IKEA lamp shades for being Swedish, but after I went to Target I realized that most lamp shades don't even need a harp anymore! Ya learn something new every day. Total cost of lamp: $36. Ok enough chit chat heres the lamp! Drum roll please.......


Super cute, right! I was so happy with how it turned out. It was even better than how I envisioned it would look.  Here are some pics of the different sides.


Here is the felt on the bottom. I'm going to go back and drill a groove in all 4 sides. I only did one side and so when my mom rotates the lamp the cord comes out all funny like in the picture above.


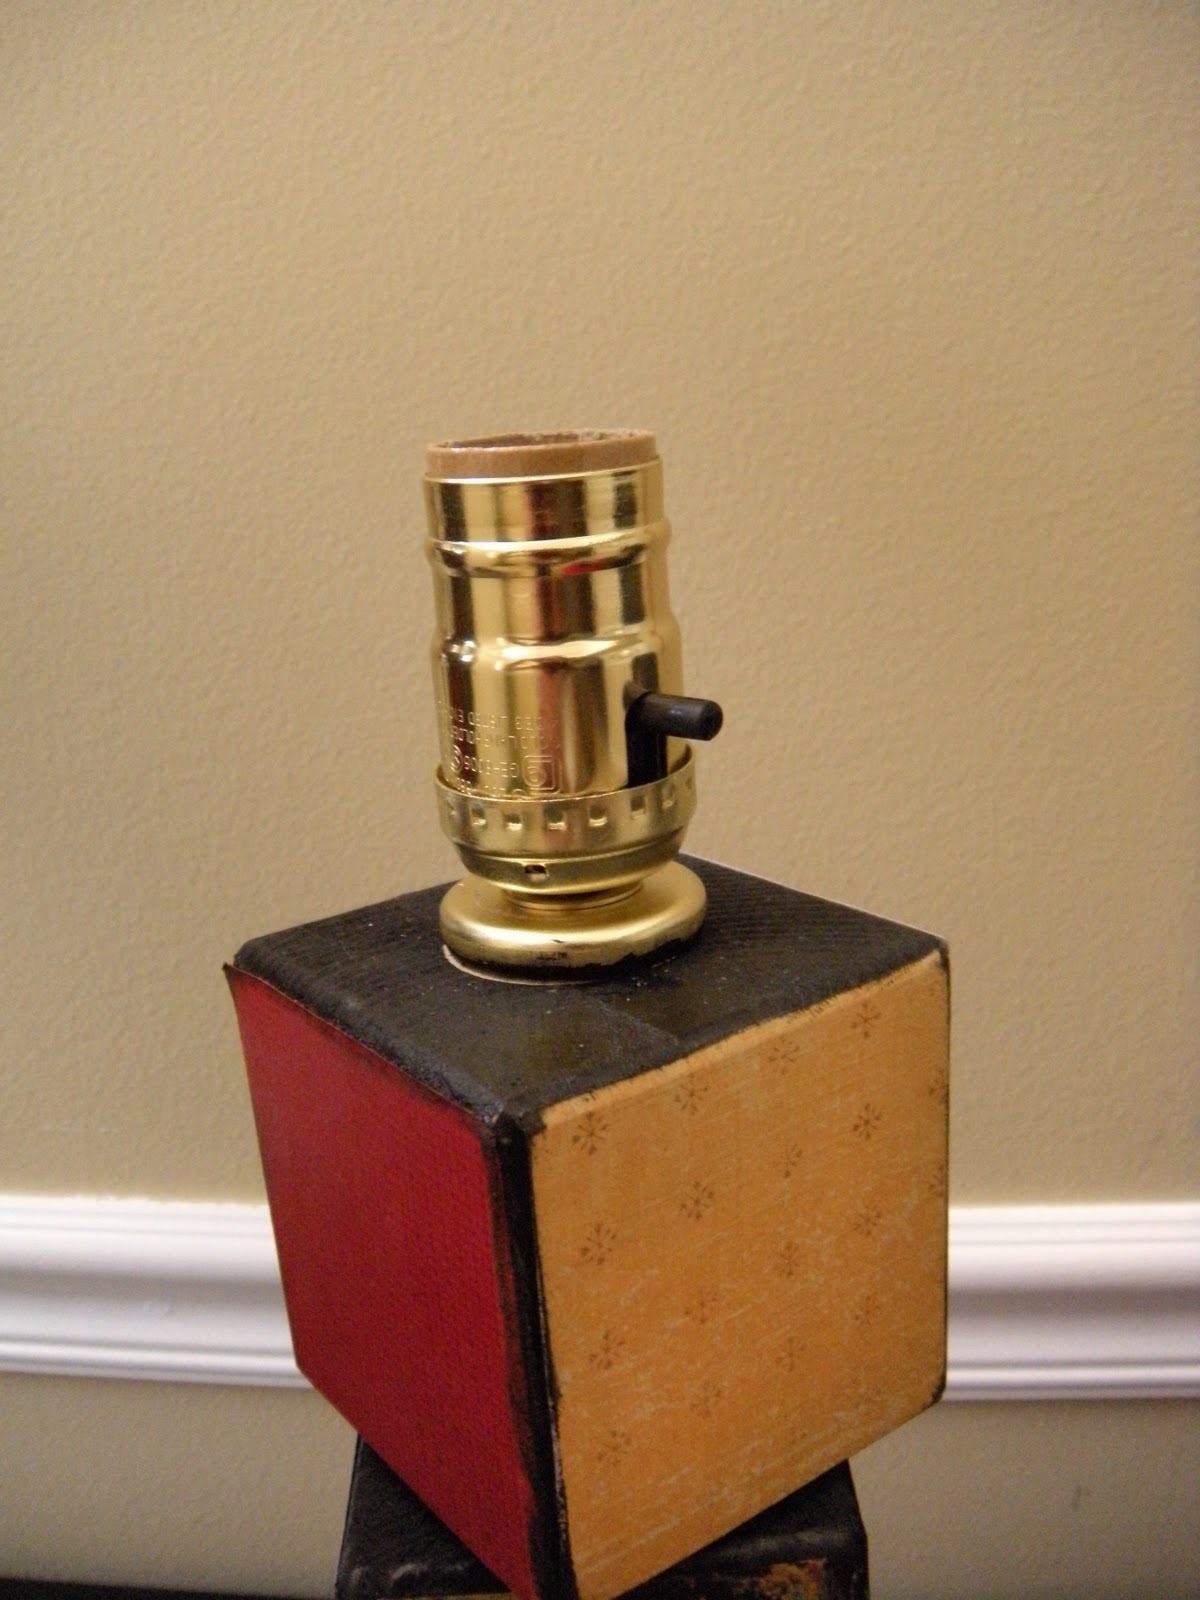
Here is a picture of what the lamp socket looks like. The lamp shade sits right on the socket and then you can screw the light bulb in.


My mom loved it and was so surprised! I surprised myself with my new found electrical abilities. It is something my whole family can now treasure.

Leaf Headband

I love headbands! I've been into making my own lately. I was searching through blogs for some good ideas and came across a tutorial at Missie Krissie. I like leaves too. So I thought I would try one of my own. I pretty much just followed her tutorial. Here is what I did for mine.

*Made a leaf pattern.


*Traced pattern onto different colors of felt


* Cut them out. Add a small drop of hot glue in the middle of the bottom edge then squeeze together leaving the corners free.


* I decided to turn my leaves inside out. So see the gray ones. I didn't leave them like that, but pushed from the bottom till it popped inside out. I like how it made a it look.


 It has a kind of dimple look.

Next I glued the leaves onto the headband. I started at the bottom and worked my way to the top.


   Here is the finally product!


January 26, 2011

Sparkles of Joy

I found these wooden letters that spell JOY at the DI....


I laughed because my grandma made my mom the same letters for Christmas and spent 2-3 dollars a piece for them. I got the unfinished letters for .50 cents and the finished one for $1. Funny that they upped the price just for a little paint. 

I love anything that sparkles. Really! I will get distracted and can't focus if you put something shiny in front of me. So, I knew I wanted to glitterfy these little buddies. I went to The HL ( Hobby Lobby and the unnecessary "the" because as my sister once said, "You add a "the" in front of anything you love a lot and anything that deserves it! Ha, good times) and got two packs of 6 glitter shakers for $2 each. They were 50% off! Such good luck! Here's how they turned out.....


First, I painted the "J" and "Y" white and the "O" black and white. Then I spread Mod Podge all over the letters when the paint was dry and sprinkled glitter all over. I used sliver and a blackish blue color. Then I turned them over and shook the extra off. To seal the glitter so it didn't continue to fall off (as you see in the picture above) I sprayed them with a little bit of hair spray.

There you have it! A new and improved glittery JOY! I can now stare at it in my room and I always feel "joy" when I do...I'm so funny! I was going to give this as a Christmas present, but I decided to keep it for myself. When I was little my mom was talking to my sister and I about what to say to when a stranger comes up to us. We decided to create a family password so we could know if it was safe to go with this person or not. My mom asked what we thought it should be and I came up with Joy! I don't remember how old I was, but my mom thought it was so funny and it stuck. Now it's a family joke, so I kept it for that reason!

January 25, 2011

Glittery Apothecary Jar

I am in love with apothecary jars! I have always wanted one, but have never caved into buying one because of the price. I was literally jumping for joy when I stumbled upon Courtney's blog A Diamond in the Stuff and her Apothecary Jar out of Junk. It was the darn cutest thing I had ever seen. I drove myself to the DI and was in heaven when I found an entire row of selves filled with vases. I then just walked around trying to find potential in the rest of the junk that was there. I came home with 5 bags of junk to make some cute jars. I had so many ideas in my head...it was great. The sweet cashier wrapped each of my glass/ceramic purchases up in newspaper. A big thanks to her, we could have had some casualties on the way home. So weirdo me. I didn't switch over from video to camera mode, so you get a video of the junk before..ha ha. So after much ado here is the before junk......


I love it! Both items were $1.50! I couldn't believe it. I actually like the ceramic jar and it gets better there was a larger one there too for 2 bucks! So you betcha I got both of them.  I decided to spray paint the jar black. I got it all done, and was about to start gluing away when the saddest thing ever happened. My mom offered to help wash the vase....now time to take a bird walk. Go back to the DI with me. I had found these super cute jars and went back to the vase isle to find a vase that would fit perfectly. I had the jar sitting in the middle of the isle and was measuring away. Some lady gave me a weird look as she passed me...whatever I was in creative mode. I found vases that perfectly fit each object. So the above vase was the perfect fit and I loved the shape of it with the little lip at the top. Ok back from bird walk time....my mom was washing the vase and no lie we had a Christmas story moment. I hear the most terrible cracking noise and a gasp. I turn around and there she is standing with the remains of a broken vase in the sink.  After a moment of panic, I was able to use one of my other vases. That poor vase...I think it was really old and it was very thin glass. Not my mom's fault...just the vases... for being old. It was a good thing that it wasn't all finished and didn't break en route to my friend. I glued the vase into the jar with Gorilla glue and this is the final project:


Please excuse the bad pics, I was in a hurry. I love how it turned out! I got the glittery ornaments in the dollar section at Target. I like the little tiny ones at the bottom. I had the ribbon at my house already. So total cost was 6 dollars!